First start QuickBooks and open a company file, yours or a sample.
Running VB Demo
Leaving your QuickBooks company file open, click on "Start" and "All Programs" and locate the "QODBC Driver for QuickBooks" program group on your desktop.
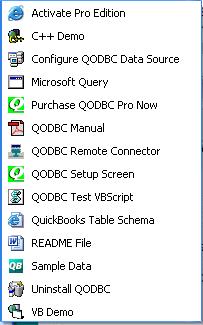
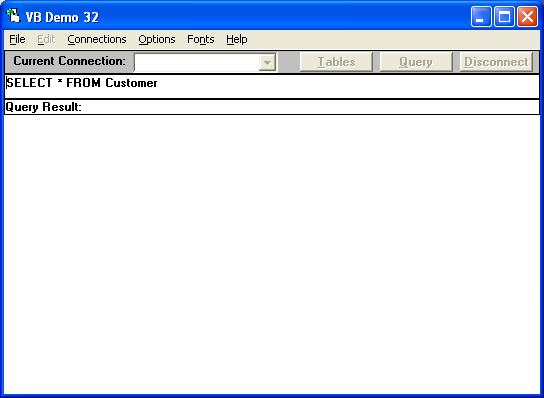
Click on the VB Demo icon to launch the Visual Basic Demo program supplied with QODBC.
To establish a connection: From the menu bar select "Connections" / "Add a new connection", select the "Machine Data Source" tab and "QuickBooks Data" System DSN, Click "OK”.
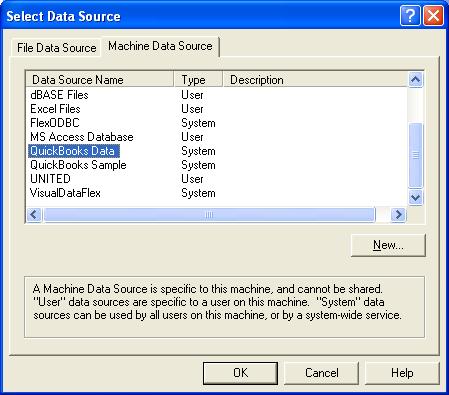
This will connect you to the current company file opened by QuickBooks. After you click “OK”, if this is the first time this company file has been used by QODBC you will receive a popup from QuickBooks asking you to allow QODBC to run. Choose the Yes, Always option, and check the Sensative data option.
Now that you have successfully established a connection to your QuickBooks data, it's time to type in your desired SQL query, for example your can use the default "SELECT * FROM Customer" or type in another table like stock by entering "SELECT * FROM ItemInventory". Click on the "Query" button and the requested query results will appear! In case you're wondering, the * in the select statement means all columns in that Table.
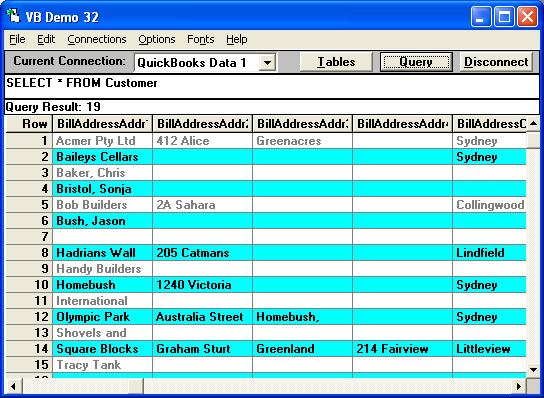
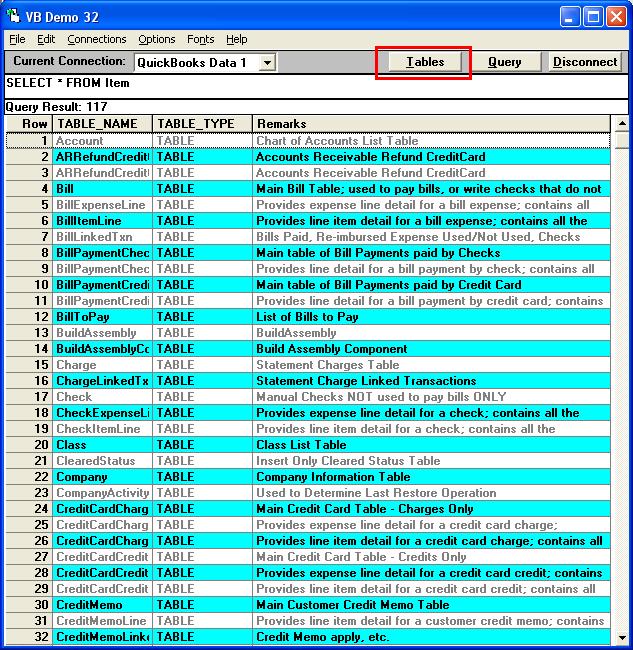
Alternatively, click on the "Tables" button to see a list of all the available QuickBooks tables.
To disconnect, you can either select "Connections" / "Remove the connection" or Click the "Disconnect" button. |